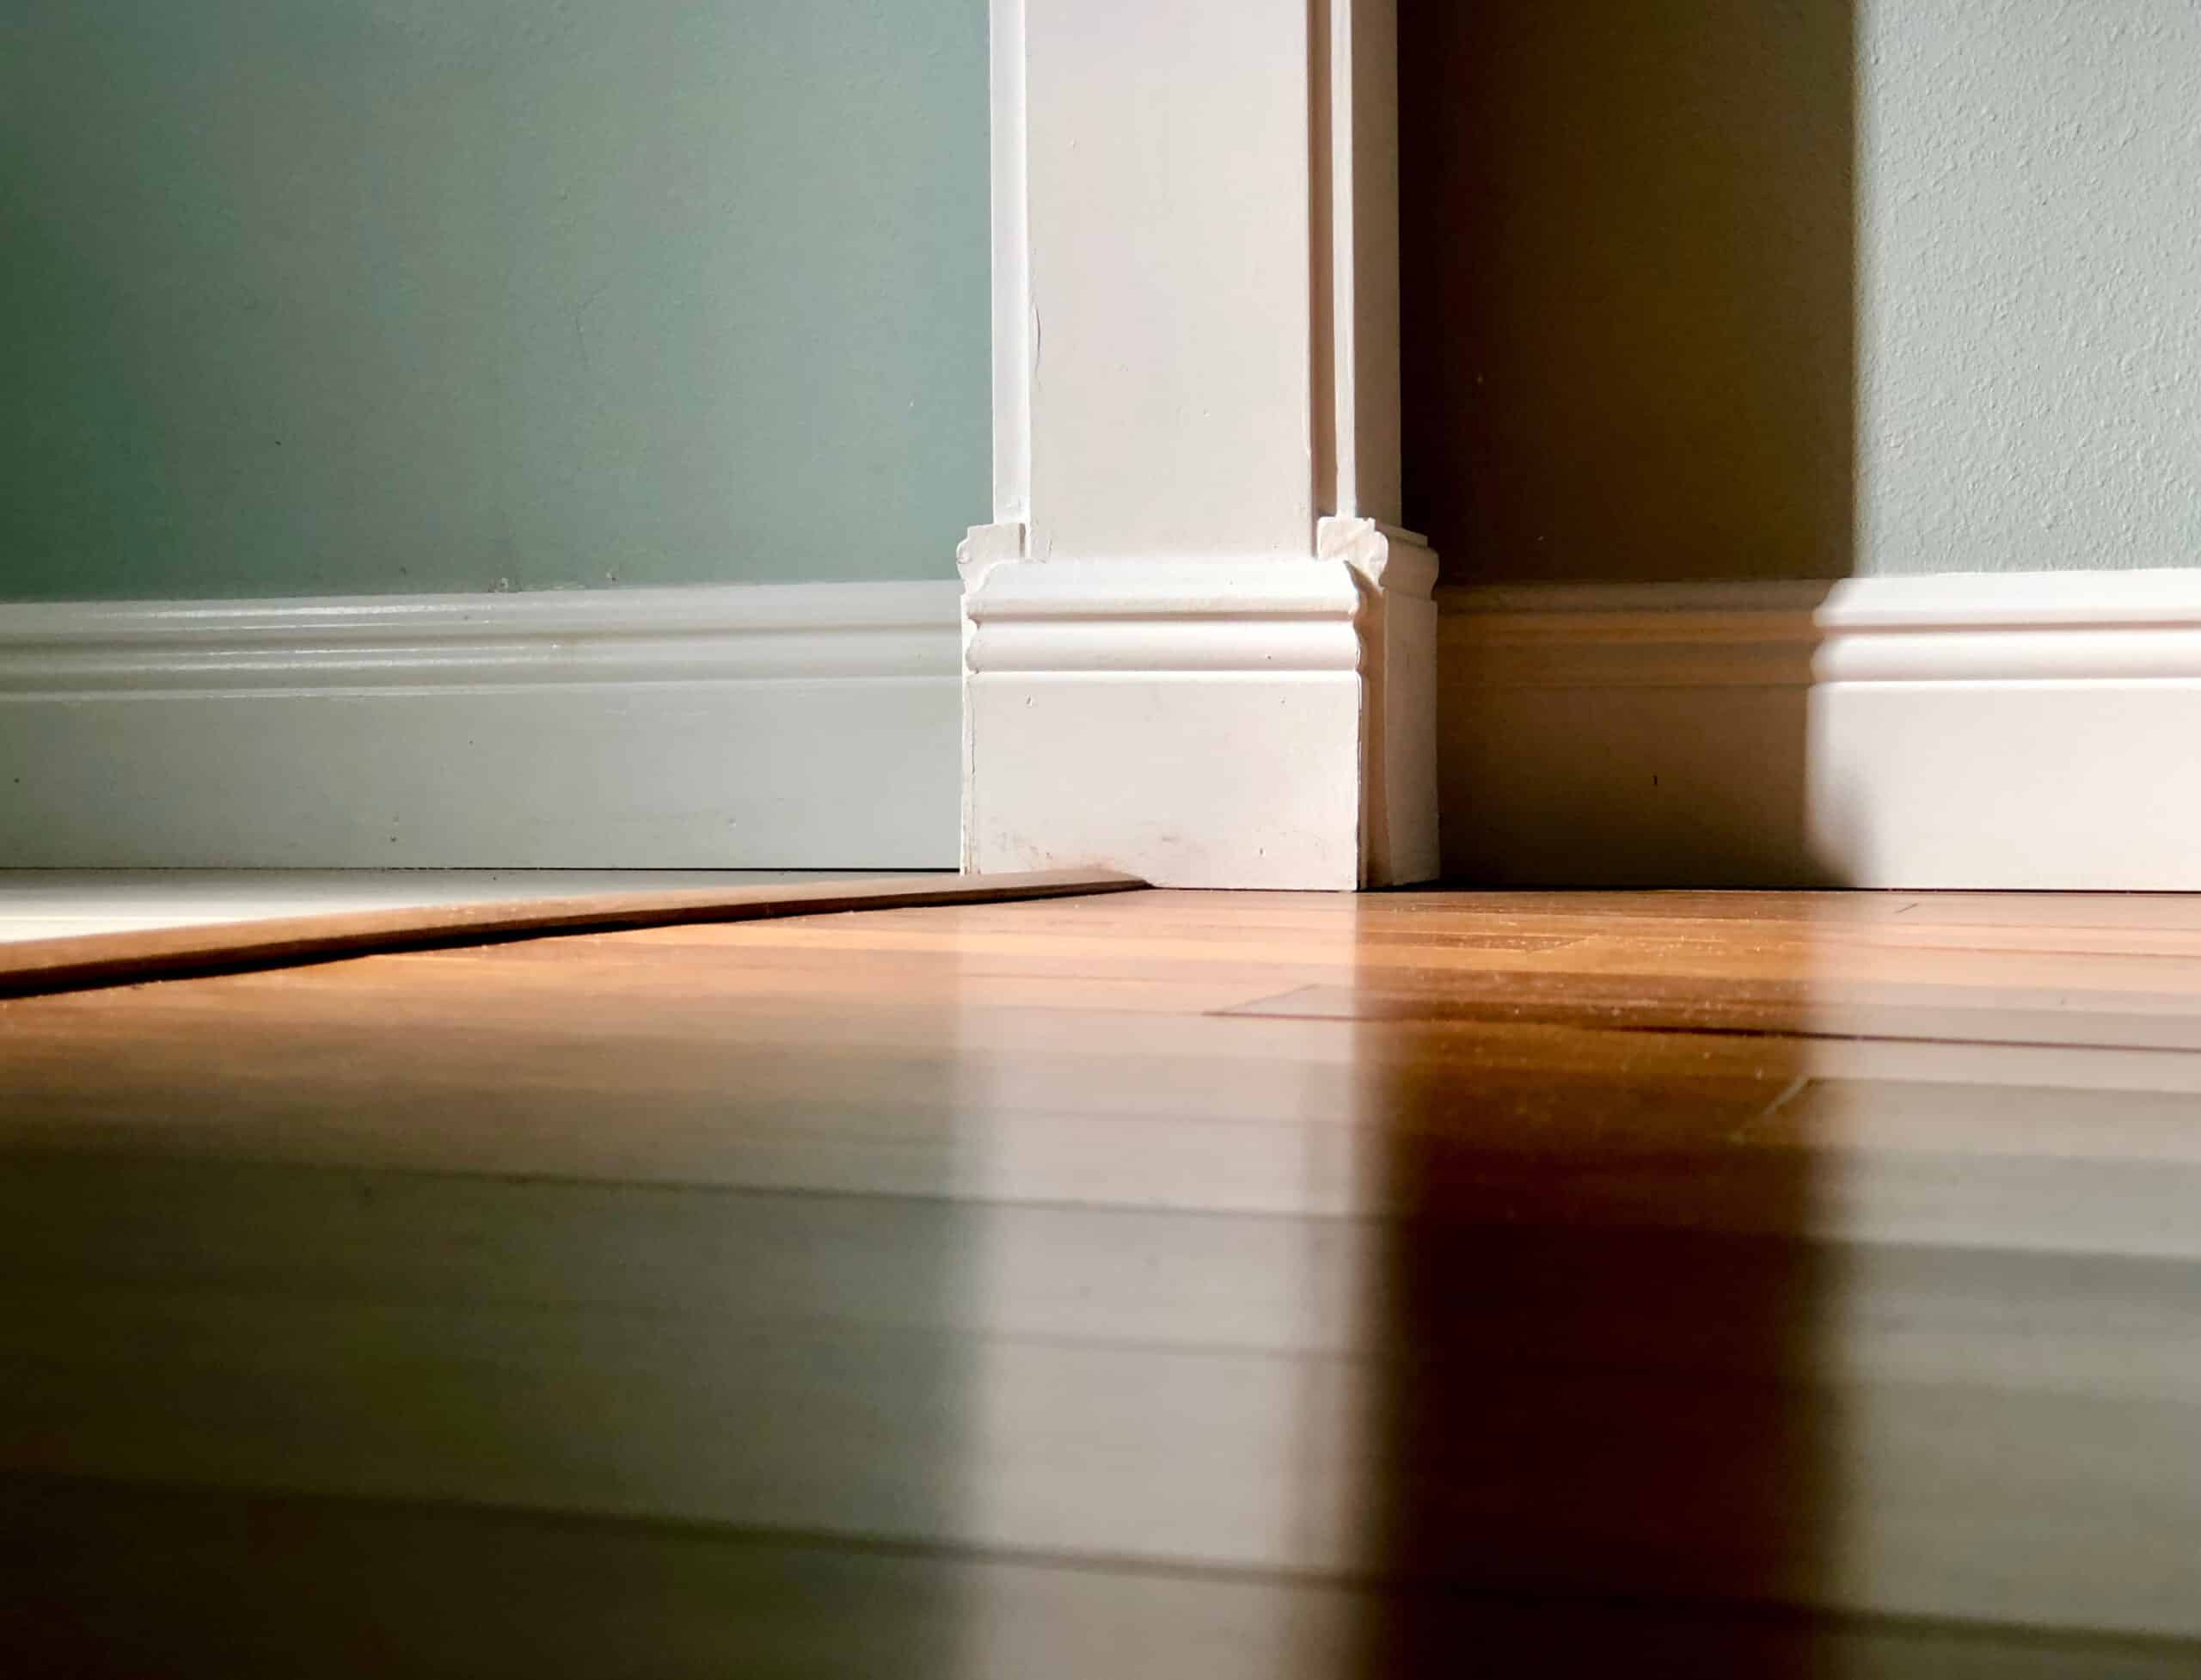
Flooring transitions can make or break the flow of any space. Even the most beautiful hardwood floors can look and feel unfinished without careful connections between the rooms. If you are looking to achieve a polished, cohesive look, knowing how to transition different hardwood floors is a must. In this guide, we will walk you through practical tips and hardwood floor transition ideas to help you achieve clean, seamless results.
Understand the Purpose of Floor Transitions
Before diving into tips on how to transition different hardwood floors, it is important to understand why floor transitions matter. Transition strips between rooms are installed for three main purposes:
- To ensure aesthetic continuity between rooms
- To eliminate tripping hazards
- To accommodate the expansion and contraction of wood
Transition strips may need to be installed between different rooms, between hardwood and other flooring types, such as tile or carpet, or where hardwood boards change direction.
Challenges like uneven subfloors, differences in floor height, and aligning direction changes can make achieving a seamless transition difficult. However, experienced flooring professionals, like our team at Rome Flooring, can make the process easy, ensuring everything flows together beautifully and functions just as it should.
Choose the Right Type of Transition

Depending on your home’s layout and the flooring materials installed, you may want to consider several transition options. Choosing the right one is essential for both appearance and functionality, and your flooring professional will recommend the best choice for your project.
- T-moulding is perfect for connecting hardwood to hardwood of the same height. When matched to the floor wood stain, T-moulding can create a virtually unnoticeable break while allowing the wood on either side to expand and contract naturally.
- Reducer strips are used when hardwood meets a lower surface like vinyl, laminate, or concrete. These strips slope gently from one level to another, creating a clean transition while minimizing tripping hazards.
- Thresholds and end caps work well in doorways or at the edge of a room, especially where hardwood stops against sliding doors or carpeting.
Flush vs. Overlap Transitions
When exploring hardwood flooring transitions between rooms, it is also essential to understand the difference between flush and overlap transitions.
- Flush transitions sit level with the floor and are commonly used for nail-down or glue-down hardwood installations.
- Overlap transitions, on the other hand, are designed specifically for floating floors to allow enough clearance and movement.
Installation Tips for a Clean Finish
- Plan transitions early. Consider future transitions during the layout phase, especially for open floor plans.
- Use transition mouldings sparingly. When possible, continue planks between rooms for a modern, uninterrupted look.
- Maintain expansion gaps. Keep sufficient gaps between planks and transition strips to allow for the expansion and contraction of the flooring. This is especially important with solid hardwood.
- Work with a pro if unsure. Mistakes in hardwood floor transitions can lead to gapping, creaking, or buckling over time. Working with a flooring professional ensures that the end result is both beautiful and durable.
Final Thoughts
Achieving a seamless transition between rooms with hardwood flooring can be challenging, but it is absolutely possible with the right planning and materials. Whether you are extending hardwood through multiple rooms or working with different flooring materials, properly installing the transition strips can help you achieve a polished, seamless flow. If you need personalized advice or help choosing the right transition pieces, don’t hesitate to reach out to us today: our flooring experts will be happy to help.